Most homeowners think of exterior paint as a cosmetic line item — something you do when the color starts to look dated, or when you’re getting ready to sell. The reality is more mechanical. Exterior paint is the protective coating between your siding and decades of UV, rain, freeze-thaw cycles, and biological growth. When it fails, the damage moves from cosmetic to structural in a hurry.
Here’s a real homeowner’s guide to when exterior paint actually needs to be redone, what it looks like when paint is failing, and how to plan the timing. From a general contractor’s perspective.
How Long Exterior Paint Actually Lasts
Lifespans vary dramatically by what’s underneath:
- Wood siding (clapboard, cedar shake): 5–7 years for paint; 4–6 years for stain
- Fiber cement (Hardie): 10–15 years (modern factory-painted versions can hold longer)
- Vinyl siding: Doesn’t get painted in most cases. If painted, 5–10 years
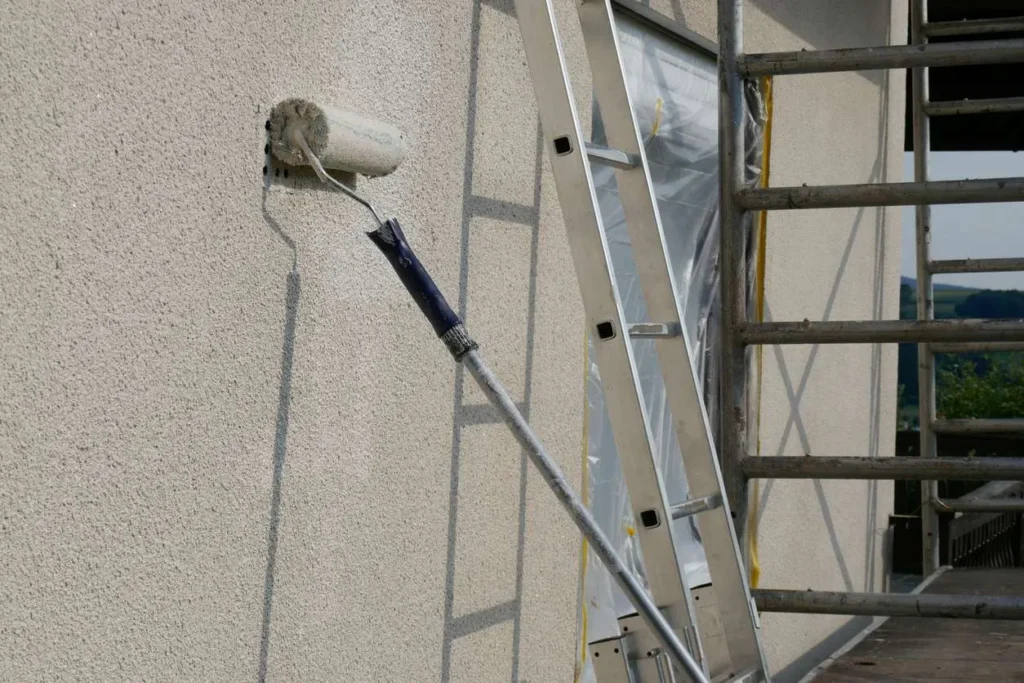
- Stucco: 10–20 years depending on quality of original application
- Brick (painted): 15–20 years
- Aluminum siding: 8–12 years
- Trim, doors, and shutters: Often need touch-up every 3–5 years even when the main siding doesn’t
Two big factors compress those lifespans: sun exposure and weather extremes. A south- or west-facing wall in direct sun usually wears faster than the shaded north side of the same house. Coastal and mountain homes with extreme weather lose another year or two. Standard prep and high-end paint extend the timeline; cheap paint cuts it.
Signs Your Exterior Paint Is Failing
Most paint failure is visible from the curb. Walk the perimeter of the house and look for:
Chalking
Run your hand along a painted surface. If it leaves a chalky white residue on your fingers, the paint binder has broken down from UV exposure. Chalking means the paint film is essentially powdering off the surface. Repaint window is open.
Peeling, Cracking, or Flaking
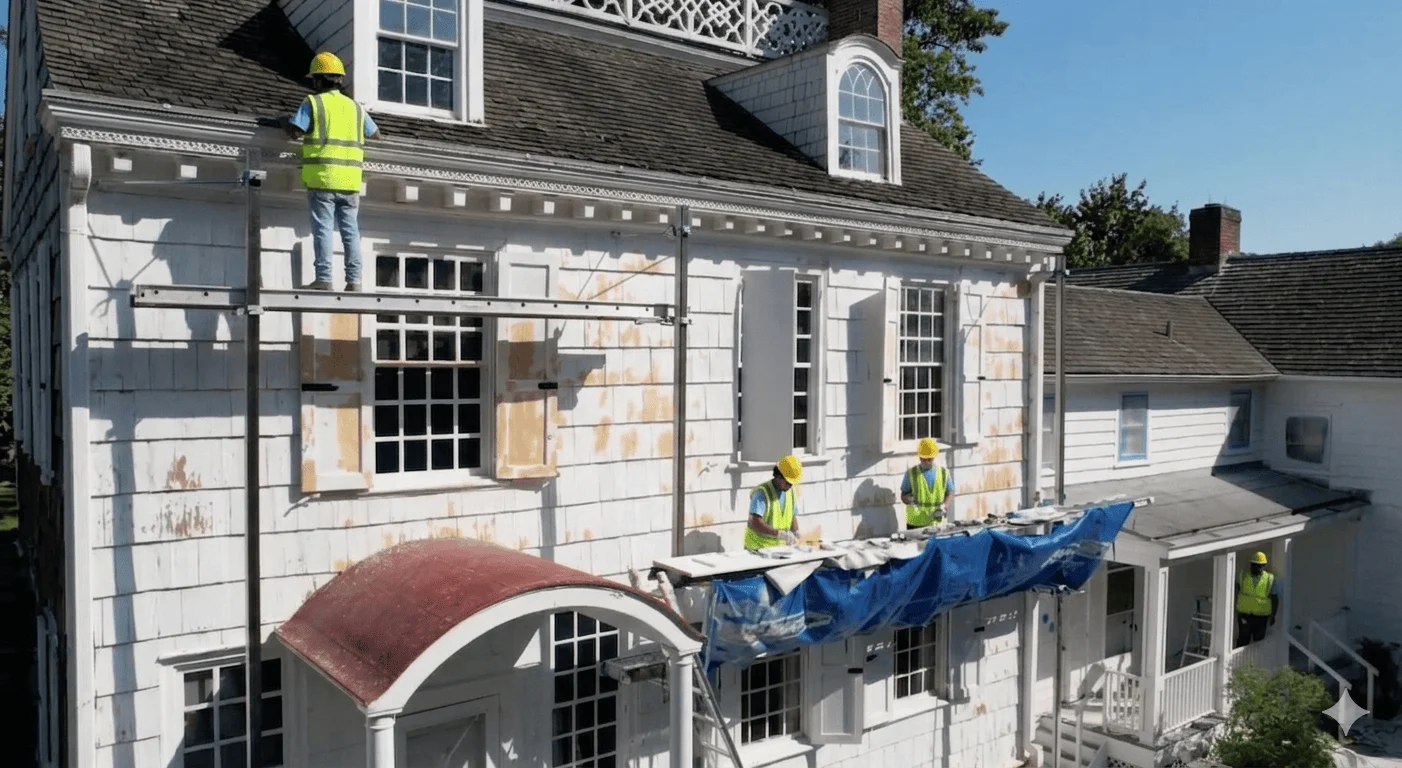
The classic end-of-life signal. Once peeling starts in one section, it spreads. Patching extends the timeline by months, not years. The whole surface is approaching repaint territory.
Blistering or Bubbling
Bubbles in the paint film mean moisture is trapped underneath — either from rain pushing through compromised paint, or from interior moisture migrating outward. Bubbling means the paint is no longer sealing. Repaint plus underlying moisture diagnosis needed.
Fading and Discoloration
Color that’s noticeably lighter on south- and west-facing walls than on shaded sides means the UV-protective pigments have degraded. Cosmetic but also a leading indicator — once color fades, peeling typically follows within 1–2 years.
Caulk Failure
The caulk lines around windows, doors, and trim should be smooth and tight to the siding. Cracked, missing, or pulled-away caulk lets water into the wall cavity. Often invisible until significant damage shows up inside. Caulk failure usually means repaint AND recaulk together.
Mildew, Algae, or Dark Streaks
Black or green streaking — especially on the north side of the house or under eaves. Sometimes cleanable; often a sign the paint has lost its mildew-resistant additives. If staining keeps coming back after cleaning, repaint with mildewcide-treated paint is the fix.
Wood Rot Visible Through Paint
If you can see soft wood, dark stains spreading from window corners, or visible rot at trim joints — paint isn’t the problem anymore. You need carpentry repair first, then repaint. Ignoring rot under paint accelerates the damage.
The Cost of Waiting vs Repainting
Repainting on schedule is usually less expensive than waiting until paint failure damages the structure underneath. Real comparison:
- On-schedule repaint (paint still mostly intact): Prep is light. Power wash, sand the bad spots, recaulk, prime spot-failures, repaint. Lower cost.
- Late repaint (peeling, cracking widespread): Prep doubles or triples. Heavy scraping, sanding, sometimes wood replacement, full primer. Higher cost. Heavier prep adds labor, so the job costs more.
- Damage-already-done repaint (rot, water intrusion): Carpentry work before paint can start. Possible siding replacement on individual boards. Cost can run 2–3x a normal repaint.
Catching paint failure early — within 1–2 years of the end of normal lifespan — keeps you in the standard repaint range. Waiting 3–5 years past end-of-life moves you into the late-stage premium.
Why Summer Is the Right Window
Exterior paint has temperature and moisture requirements that limit when it can be applied correctly. They differ by product, so check the paint’s label and data sheet:
- Air and surface temperature within the range the product lists
- Humidity and dew point within the product’s limits
- No rain while the paint cures, for as long as the product requires
- Dry surface to start — wood needs 24+ hours after last rain
Summer in the Northeast hits all those windows reliably. Spring is borderline (still wet, cold mornings). Fall can work too, as long as the forecast stays within the product’s requirements. Winter is essentially off-limits for exterior paint.
The flip side: the warmer months are also when painters are busiest. Start the planning conversation several weeks before you want the crew on site, so you have more choice of dates and room for weather delays.
Prep Work Is What You’re Actually Paying For
The single biggest difference between a paint job that lasts 8 years and one that fails in 3 is prep work. Real exterior repaint prep includes:
- Full power wash to remove dirt, mildew, chalking, and loose paint
- Scraping all loose paint down to sound surface
- Sanding edges of scraped areas to feather them flat
- Caulking all gaps around windows, doors, trim, and corners
- Wood repair for any rotted or damaged areas (often subcontracted to carpentry)
- Spot-priming bare wood and any stained areas
- Masking windows, doors, fixtures, landscaping
A quote that skips prep details is a quote planning to skip prep work. Ask for written prep scope. If a contractor says “we’ll just spray right over it,” the new paint is likely to fail early.
Bundling With Other Exterior Projects
The most cost-effective time to repaint is during a broader exterior cycle. The trades all share scaffolding, mobilization, and dust protection — and a coordinated project produces a much better finished result than handling each piece separately.
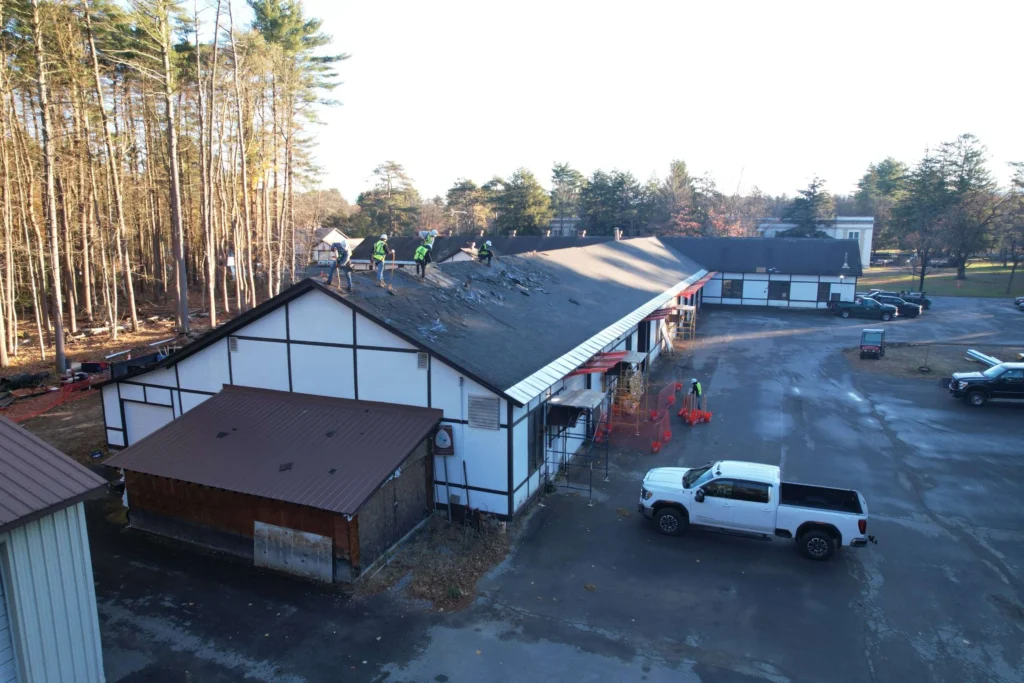
- Roof replacement + exterior paint: Always do the roof first. New roof, fresh paint, integrated finish. If the roof is approaching end-of-life, our post on 5 signs your roof needs replacement covers the diagnostic.
- Roof + gutters + paint: The integrated exterior trio. Gutters and roof have to go before paint touches trim. Our post on replacing gutters when you replace your roof covers that pairing.
- Siding repair + paint: Any rotted or damaged siding gets replaced first. Our siding services bundle in well with paint projects.
- Window replacement + paint: New windows, then paint around them. Otherwise you’re painting and then immediately tearing out the work.
For broader project planning, our home remodeling services coordinate the whole exterior cycle through one project manager.
A Note on Older Homes and Lead Paint
Any home built before 1978 may have lead-based paint somewhere in its exterior history. Under the EPA Renovation, Repair, and Painting (RRP) Rule, paid work on those homes must be done by an EPA-certified firm using lead-safe practices when it disturbs more than 6 square feet of painted surface per room inside, or more than 20 square feet on the exterior. Window replacement and demolition of painted surfaces are covered whatever their size, and there are other exceptions. The EPA’s official RRP guidance for contractors sets out the thresholds and exceptions, and the EPA Lead RRP program page covers the rest of the rule.
Practical impact: if your home is pre-1978, confirm any contractor you hire is RRP-certified. Non-certified work creates real legal and health liability. Lead-safe work practices add modestly to project cost but matter enormously for homes with young children or pets.
DIY vs Hiring Out
Exterior painting is one of the most DIY-tempting home projects. Cost savings look big until the realities hit:
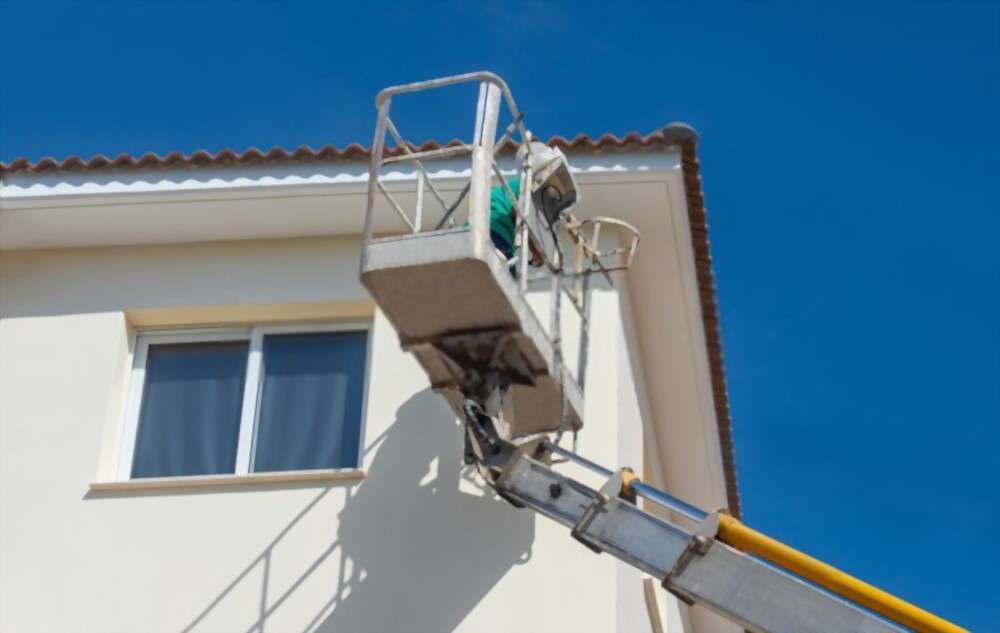
- Time. A 2,500 sq ft home takes a pro crew 4–7 days. The same home takes most DIYers most of a summer.
- Ladder safety. Falls from ladders are one of the most common serious home-improvement injuries. Two-story exterior paint requires extension ladders, often scaffolding.
- Prep quality. Most DIY repaints skip the prep that determines longevity. The result fails in 3–4 years instead of 8.
- Paint material cost. Pros typically use higher-quality paint and get contractor pricing. DIY material costs are often higher per gallon.
- Disposal. Spent paint, primer, and lead-paint waste have specific disposal requirements.
For most homeowners, exterior painting falls in the same bucket as roofing — technically DIYable, almost always cheaper long-term to hire out.
Ready for a Real Paint Assessment?
If your home’s exterior paint is showing the signs above, it is a good time to start planning, before more weather takes its toll on the surface. Our residential painting service handles full exterior repaints, prep work, and coordination with related exterior trades. Our portfolio shows examples of repaint projects we’ve completed.
Request a free exterior paint assessment and we’ll walk the property, identify where the paint stands, recommend repair vs full repaint honestly, and put together a real project plan and number.